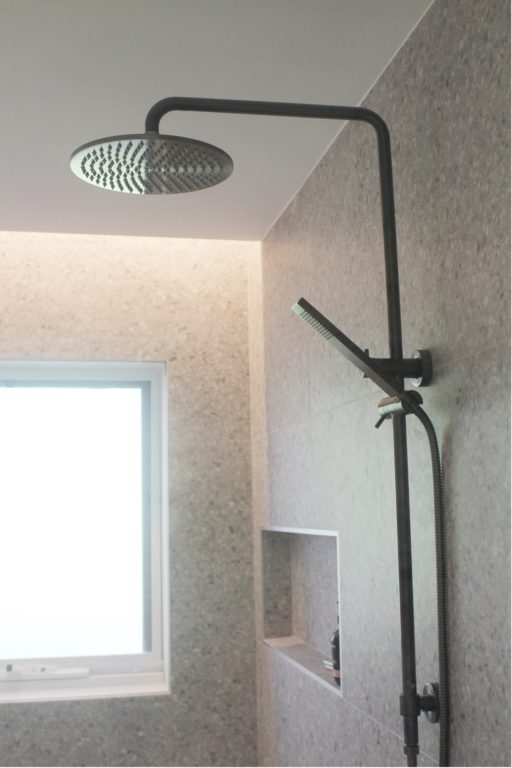
Before and after bathroom renovations. We love them, you love them, and always we are continually amazed with what our customers can do.
One of those people is Brie; a project manager in the building industry with a background and residential design and architecture. Brie recently undertook a renovation project in Bayside, Melbourne and the results have been more than outstanding.
We had a chat with Brie about her experience using Elegance Tiles and how she was able to achieve a considered bathroom using our terrazzo tile Veneto Bianco.
Q: Talk us through the project – what condition was the house/room before renovating? Did you have to make any major structural changes?
A: The project was an internal renovation of a 5 BR, 2 storey 1950’s brick house in the bay side area. The goal was to modernize and upgrade the bathrooms and kitchen, ultimately increasing the value of the property.
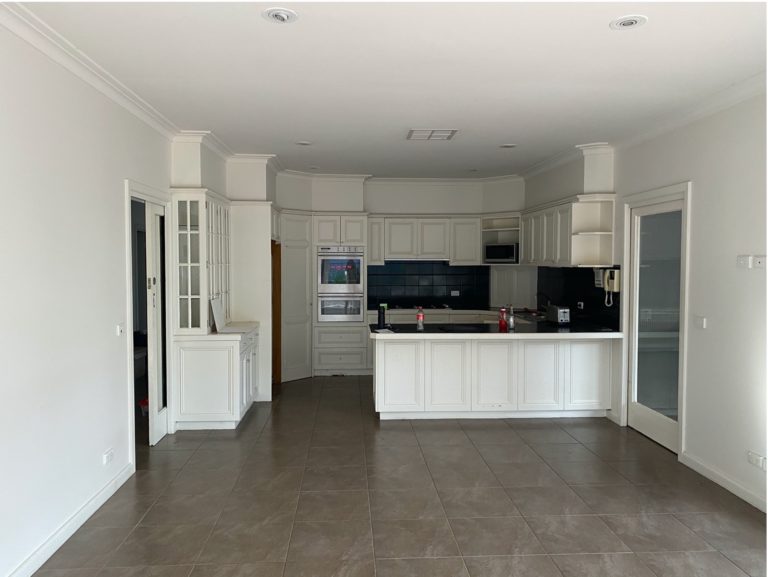
The existing house layout consisted of a living and kitchen area on the upper floor, which required an upgrade via a 2-stage process, including a detailed review of the floor plan and functionality.
Stage 1 involved rerunning the stair orientation to allow extension of the existing bathroom into the hallway and conversion of the laundry to include a kitchenette. The existing kitchen and surrounding walls were knocked down to create a more open plan floor plate. Structural modification was minimized by maintaining the existing shear walls and framing.
Stage 1 involved rerunning the stair orientation to allow extension of the existing bathroom into the hallway and conversion of the laundry to include a kitchenette. The existing kitchen and surrounding walls were knocked down to create a more open plan floor plate. Structural modification was minimized by maintaining the existing shear walls and framing.
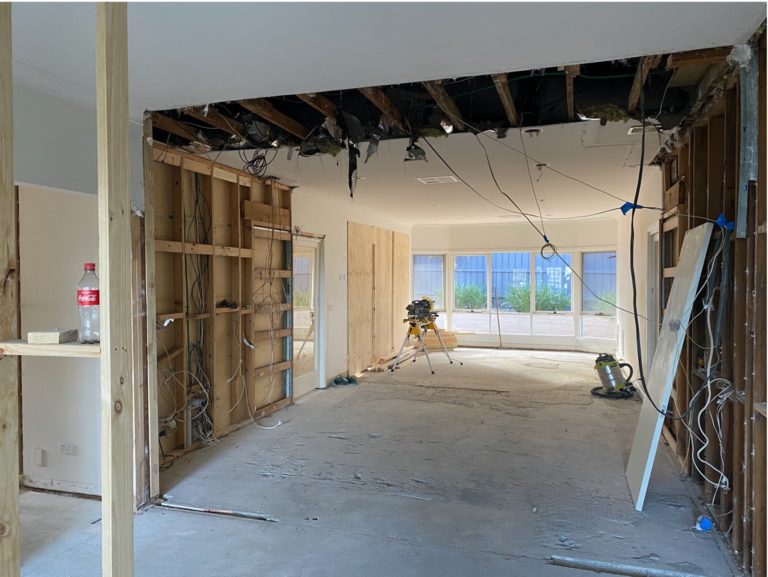
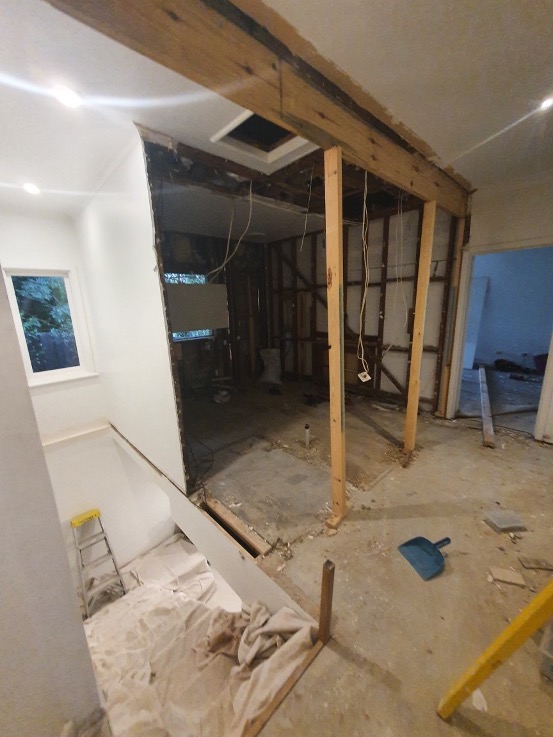
The bathroom was completely gutted, extended and then split into a main and an ensuite to the master bedroom. Careful design allowed for the use of existing elements where possible while also completely changing the look and feel of the house.
The finished product is simple – there is a focus on texture and materiality while still holding the delight and warmth of the home.
Q: What project manager, tiler & plumber did you use in the project (please include IG social media handles where relevant)
A: The project was managed by Brie @eden_co including both the design and build. Brie currently works in project management for a commercial builder and has a background in architecture and residential design.
@eden_co has established relationships with reputable trades that were extremely efficient and lovely to work with. The amazing guys from @dhbuild completed the majority of the work from the demolition, to the wall framing and kitchen cabinet installation.
Working with an old existing building means there were many unexpected discoveries, changes to the design and problem solving which was met with care and expertise. XXX completed the tiling for the 3 bathrooms, with the assistance of H & R Plumbing and Granted Electrical.
Q: What is the style of the home now and what’s your favourite feature in it
A: The two bathrooms are without a doubt the favourite element – each with their completely different styles but overall continuity.
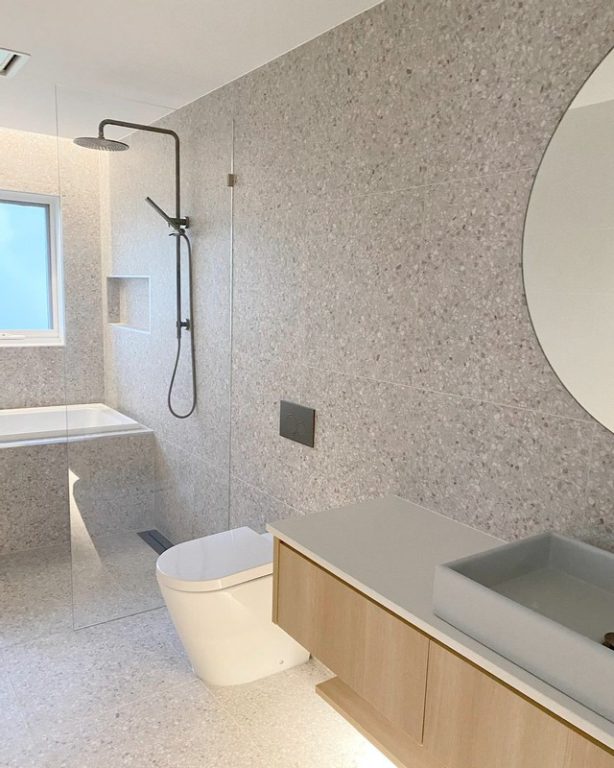
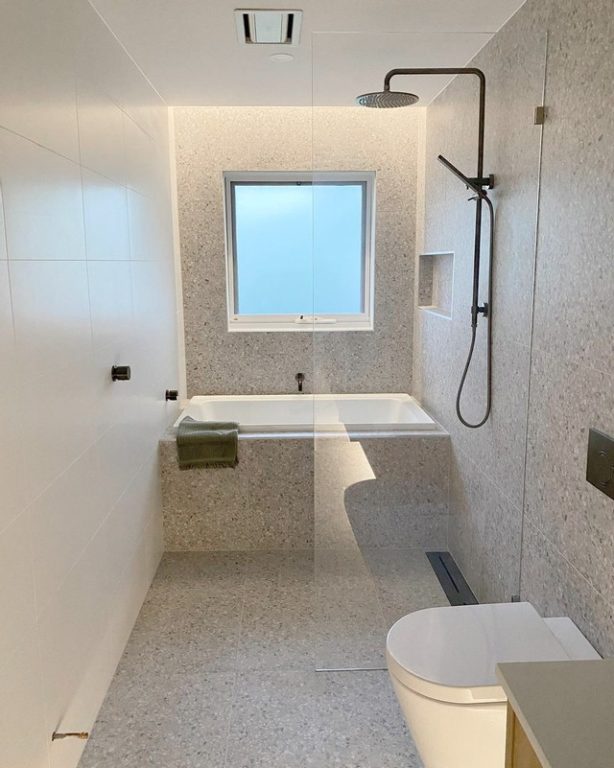
Although narrow, expanse was created with the tile choice and positions to elongate the room. There was a lot of deliberation over every element, vanity colours, fixtures, grout and the overall design but all have come together and are complementary.
Q: What Elegance Store did you buy your tiles from?
A: The elegance tiles were bought online with full size samples obtained, together with tiles obtained from a local store in Moonee Ponds; Elegance Tiles Ascot Vale. Luckily the first tiles that we looked out stood out from the rest as the perfect shade, texture and colour!
Q: Which tiles did you purchase?
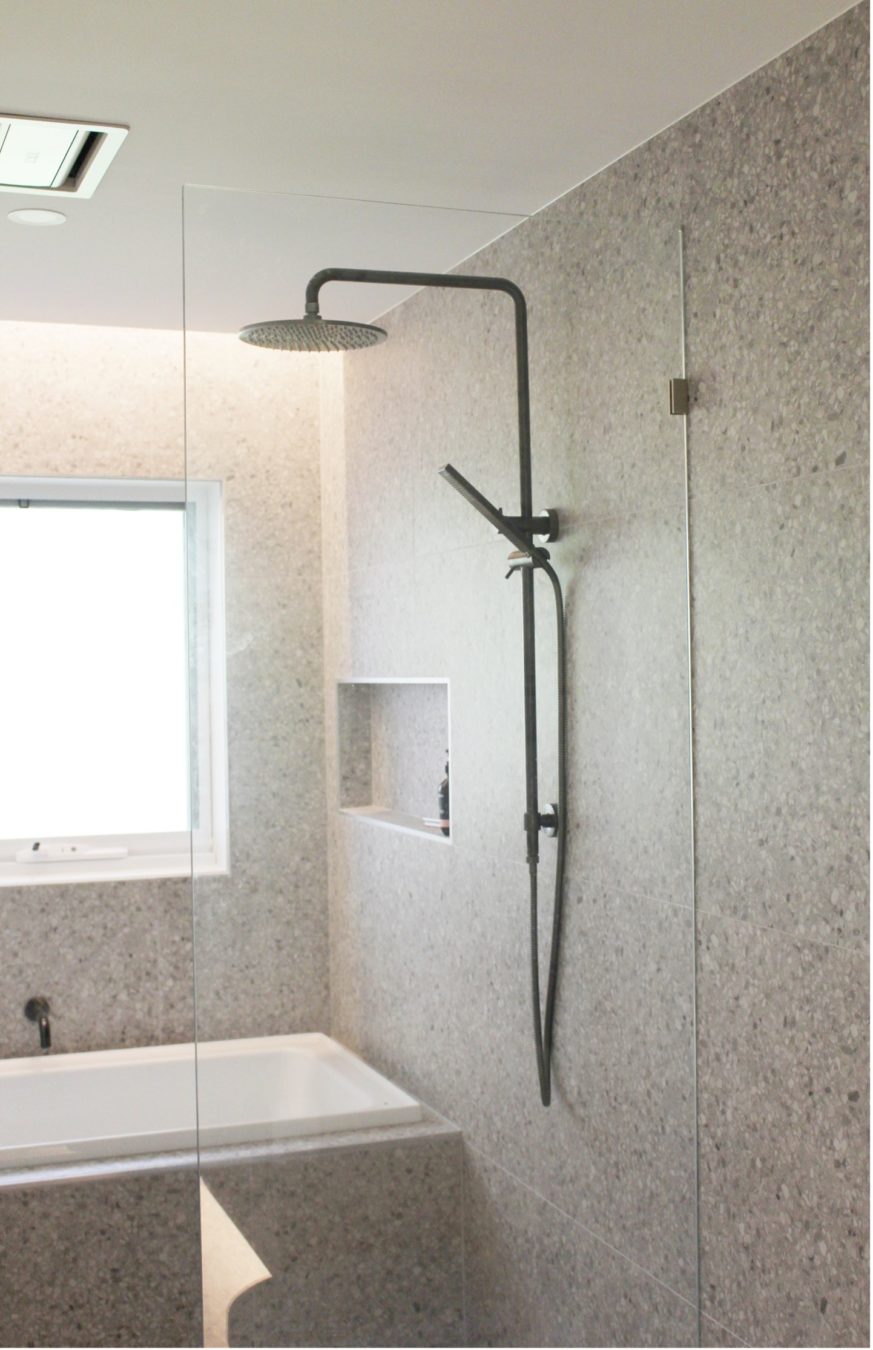
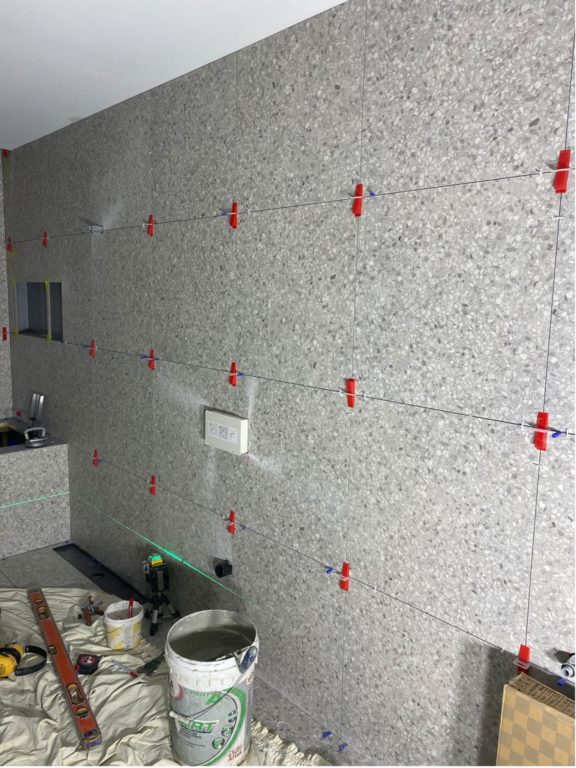
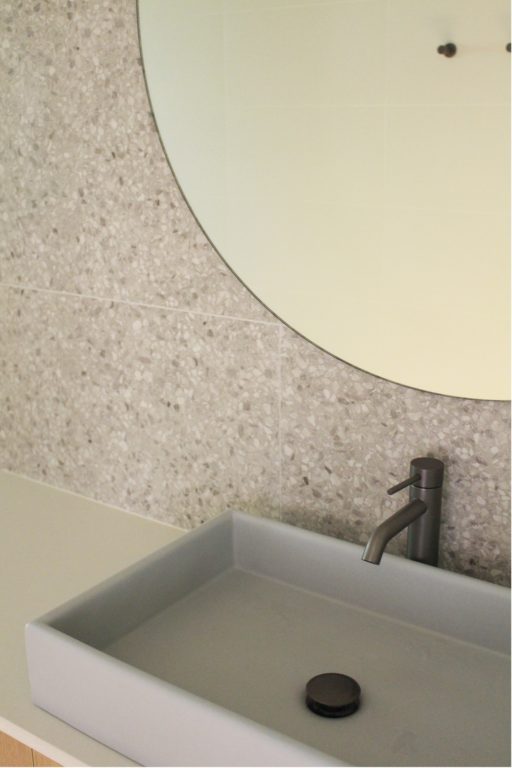
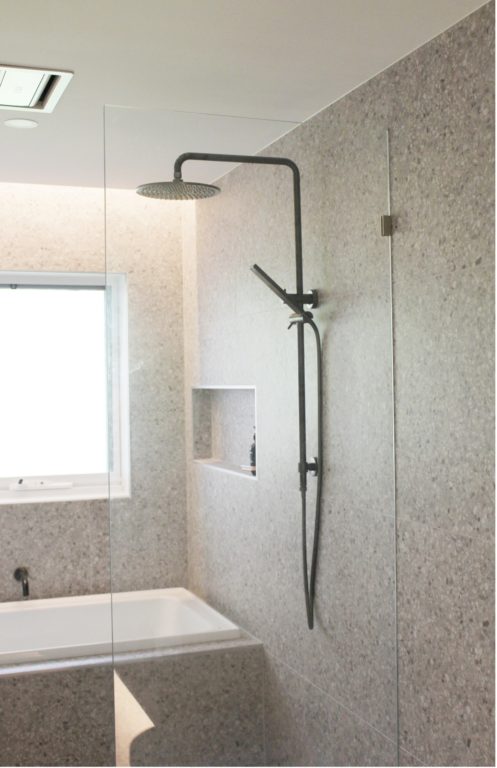
A: The main bathroom has 3 walls and floors in Veneto Bianco 600×600 tiles. This soft terrazzo grey tile is paired with white 600×300 matt tiles to the remaining wall. Preference is always for large format tiles for simplicity and ease maintaining.
Q: What do you love about the tiles in your new space?
A: The tiles are what defines the space and gives both texture and depth. All the tiles are perfectly set out to allow seamless junctions where they change size and colour. The Veneto Bianco have a slight roughness to them that softens the light and their touch.
Q: What colour grout was used?
A: Misty grey Ardex F8 was chosen for the main bathroom and mudberry was used for the ensuite. White tiles were strategically chosen to avoid the discolouring over time and provide a fresh aesthetic.
Q: What other brands/companies did you use in the renovation? Ie Paint, Vanities, Lighting…
A: Many suppliers helped make the project a success!
– ABI interiors – all the tap ware and fixtures
– NOOD – concrete vanities
– Tony – Custom cabinetry and stone
– SAL – lighting
– XXX – paint
– Bosch and Fisher Paykel – appliances
– Pangaea Floors – kitchen concrete screed
– Bayside Floorworld – timber flooring
– Fibonacci Stone – terrazzo tiles to ensuite
– Entro – door hardware
– Nexus – Nexus
Q: What was the cost of the project?
A: The bathrooms were approximately $20k each and the kitchen was $50-$60k.
Q: What was the biggest challenge of the renovation?
A: The overall project was 3.5 months but given the numerous lockdowns, we obviously faced various challenges along the way. Whenever working within an existing house, there are numerous unknowns until walls are actually stripped back. Some challenges included:
- Flooring; the existing slab was originally to be polished however once exposed it was notably beyond repair. To maintain the desired ‘polished concrete’ aesthetic @pangaeafloors installed an overlay screed that was grinded back to allow the sandy aggregates and grey tones to be exposed (“Champagne Ice” is the colour).
- Bathroom: similar to the flooring, the existing slab meant significant screed build up and leveling was required to achieve falls in the tiles.
- Framing of the new bathrooms: existing beams prevented the opening up of the ceiling and meant it would be lower than the rest of the house. In order to minimize expenses, the lower ceiling was utilised as a bulkhead and up turn was created to give the visual of a sky light. The tiles were installed within this upturn and beautifully recede and glow with the LED backlighting.
Despite the challenges and issues faced, it was rewarding to be able to come up with clever design and build solutions to resolve them. All in all, the renovation was a great success and we cannot wait for the next project.
We thank Brie so much for taking the time to discuss her renovation experience using Elegance Tiles. Make sure to check out her impressive Instagram @eden_co for more renovation inspiration.
Looking for Terrazzo Bathroom Tiles For Your Renovation Project?
Elegance Tiles has a wide range of terrazzo look tiles perfect that timeless style with many benefits. Whether you are wanting terrazzo colour options for a new bathroom, wall tiles for your shower…Elegance Tiles has got you covered. Visit us in store or speak to us online.


