


Whether you’re working with a narrow hallway, a compact en-suite, or a petite powder room, tile selection plays a surprisingly powerful role in influencing how the space feels.
When space is limited, the right tile choice can help you open things up — visually expanding the room, brightening dark corners, and creating a more seamless flow. Here are five expert tips that can help you maximise your room’s potential, using nothing more than colour, scale, layout and finish.
These tile design choices can create the illusion of a much larger space.
1. Stick with the same colour tile
When selecting a tile for your ‘small’ space, whether it be a powder room, laundry or balcony, select one colour and apply it to the entire space. This is one of the most effective techniques for selecting between options and choosing which tile to use to make a room look bigger.
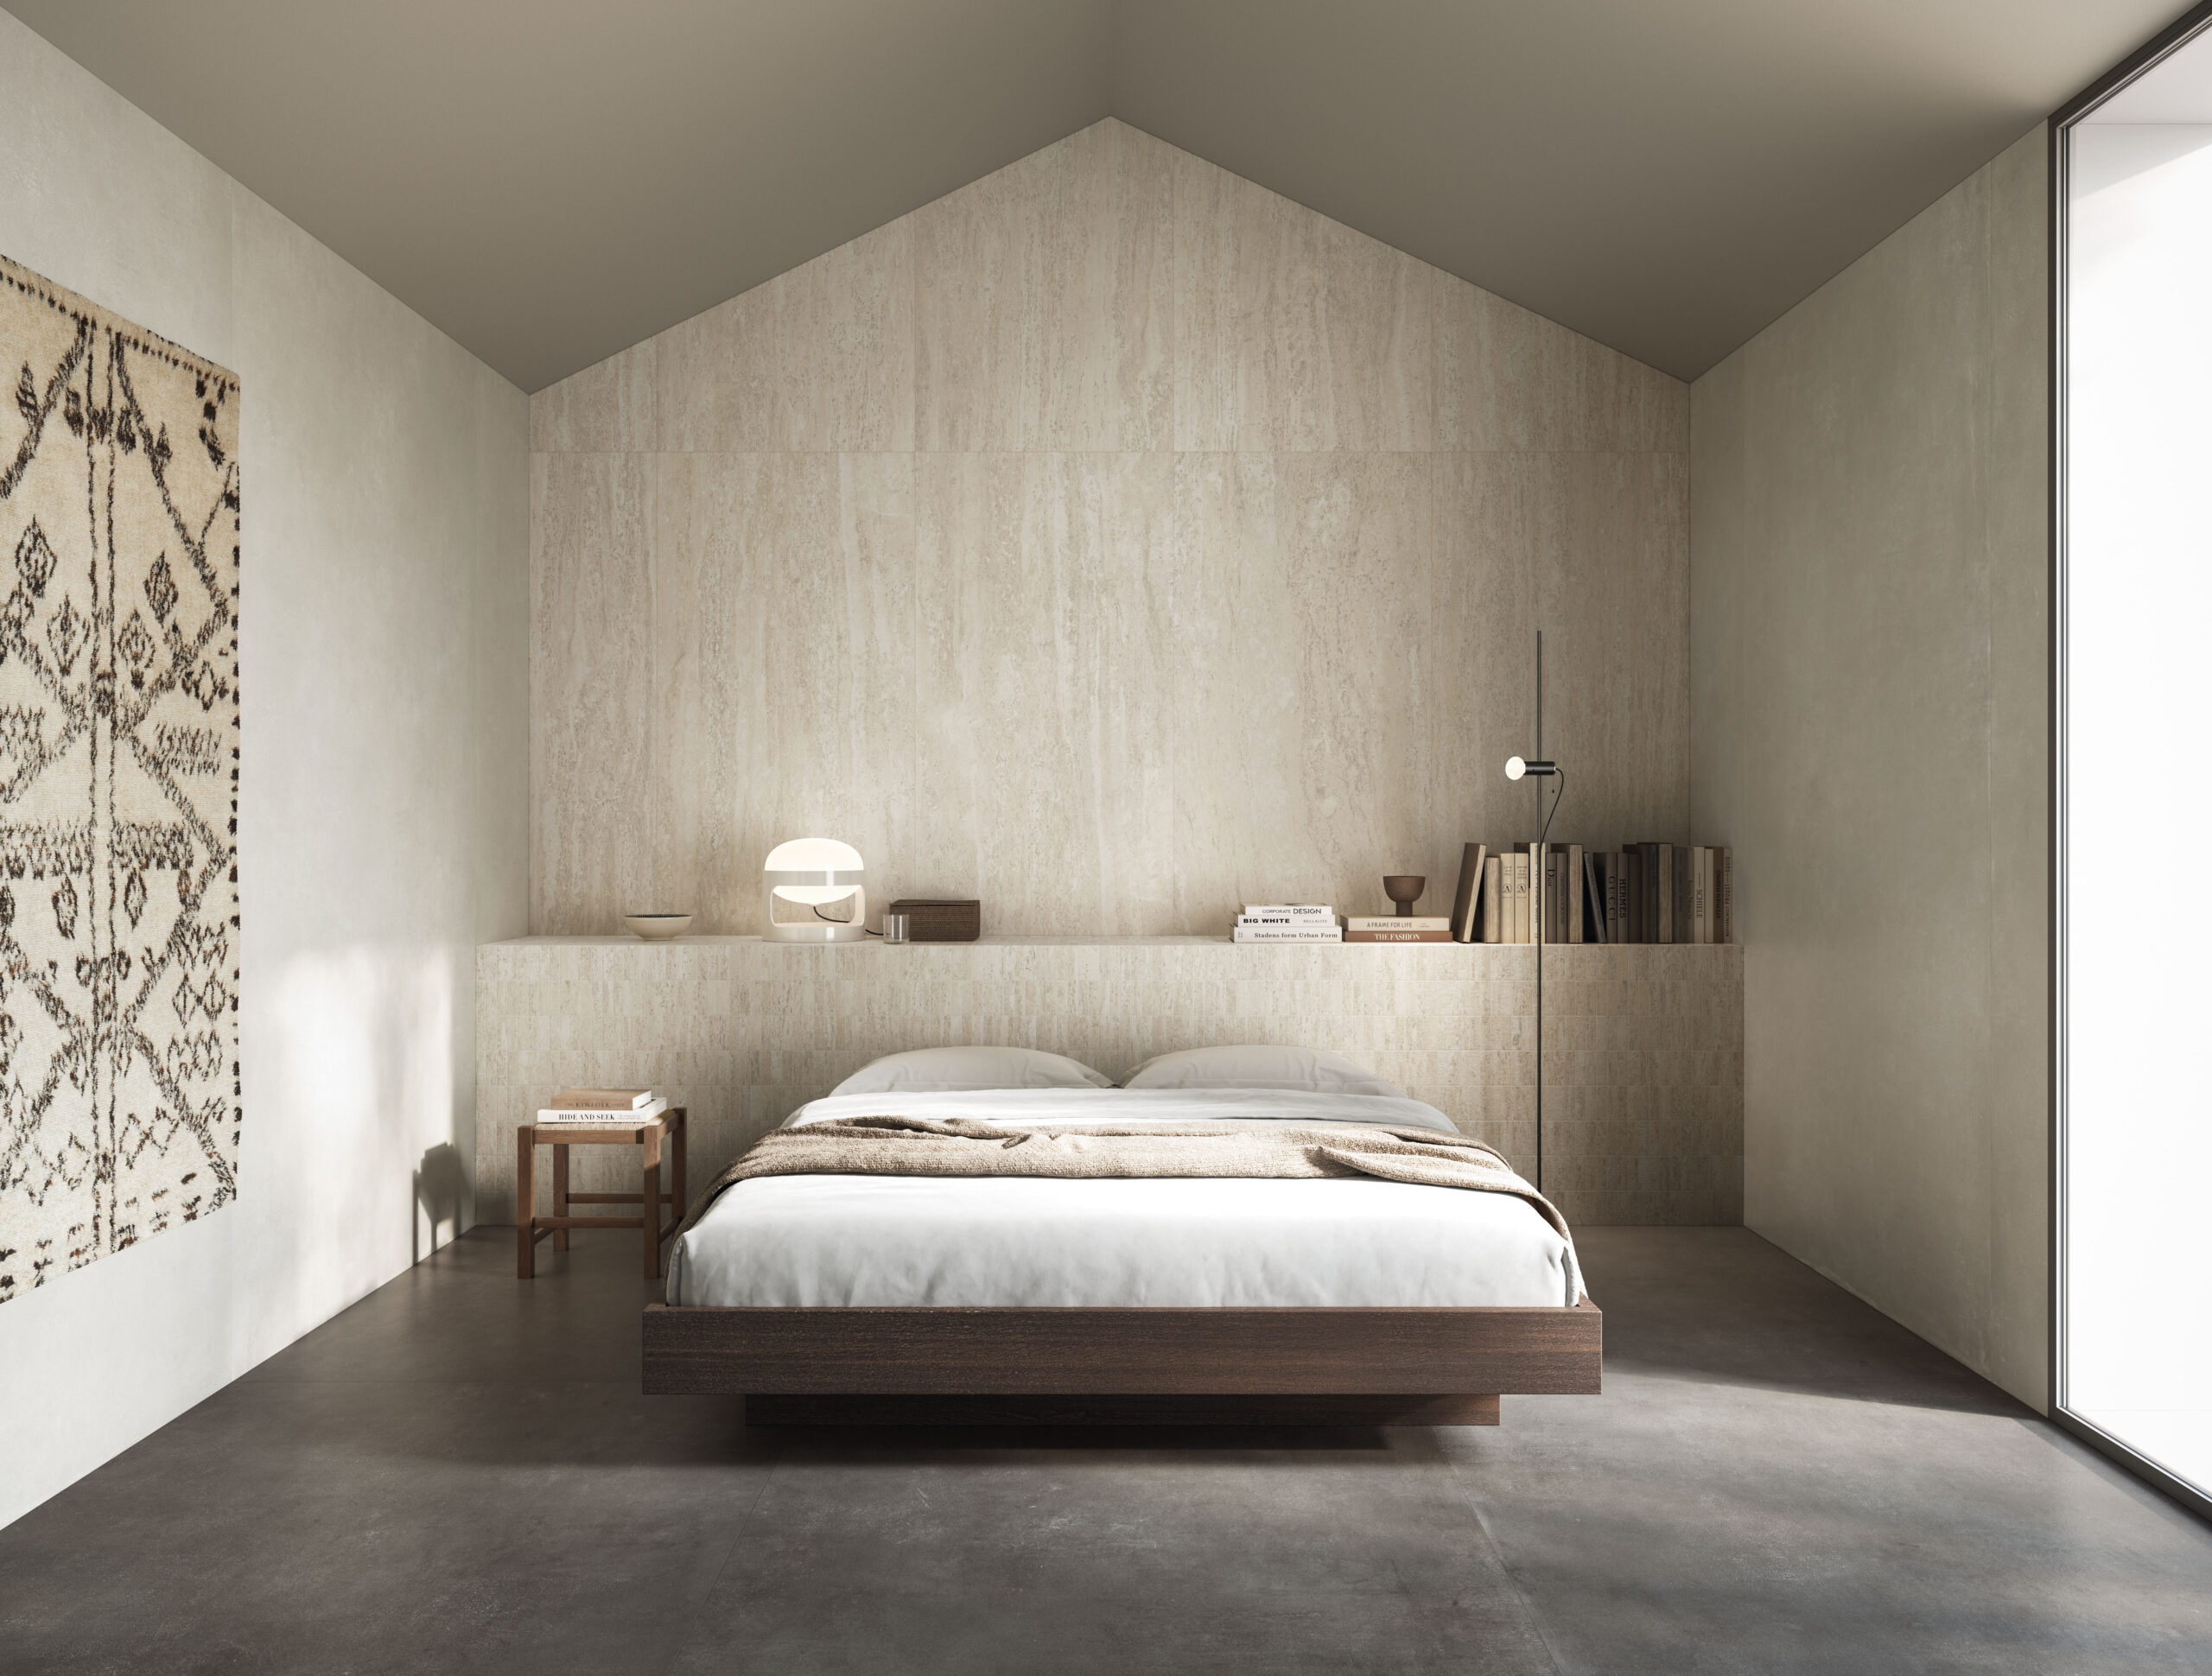
Laying the same colour tile on floor and walls creates a flow within the room and, in turn, will make for a more spacious feel. This continuous surface tricks the eye into perceiving the space as one cohesive area rather than breaking it up into separate sections. When walls and floors blend seamlessly together, the boundaries of the room become less defined, creating a visually expansive effect.
What colours work best?
Light, neutral tones are your best friend when it comes to how to make a small room look bigger. Soft whites, gentle greys, warm beiges, and pale stone effects all work beautifully to reflect light and open up a space. These colours bounce natural and artificial light around the room, making it feel brighter and more spacious.
That said, don’t feel limited to stark white! Soft pastels, light greiges, and even pale blush tones can work wonderfully. The key is to maintain consistency throughout the space and ensure your chosen colour has a light-reflective quality.
2. Choose a larger-sized format tile
Along with the colour, the size of the tile is just as important. Once you have selected your desired colour, it is then time to select a size. Keep in mind when selecting the size to go for a larger size tile such as a 600×600 or even larger formats like 600×1200mm or 1200×1200mm.
Do larger tiles make a room look bigger?
Absolutely! Here’s why: larger format tiles mean fewer grout lines crossing your floor and walls. Fewer grout lines create a cleaner, more streamlined look that doesn’t chop up the visual space. The size of the tile will reflect on the size of the room, creating a sense of scale that makes the area feel more generous.
When you’re trying to determine what size tiles make a room look bigger, think about the proportion of tile to room. In a small bathroom, for instance, using 300×300mm tiles creates a grid-like effect with numerous grout lines, making the space feel busy and confined. Switch to a 600×600mm or larger, and suddenly the same room feels calmer and more spacious.
One benefit of large-format tiles is that they create a sense of luxury and grandeur. They’re also the go-to choice when selecting bathroom tiles to make a room look bigger, as they provide that seamless, spa-like quality that enhances the feeling of space.
Practical considerations for large format tiles
While large format tiles are excellent for creating spacious illusions, there are a few practical considerations to keep in mind. Installation requires precision and expertise, as larger tiles need to be laid on perfectly level surfaces. They may also require different adhesives and laying techniques compared to standard-sized tiles. This is where consulting with tile specialists becomes invaluable – they can guide you through the technical requirements and ensure your installation is flawless.

3. Opt for a similar colour grout to your tile choice
After you have selected your perfect tile, it is time for grout selection. Choosing a contrasting grout colour to your tile will create emphasis on the grout lines and therefore make the space feel choppy and confined. If the grout and tiles are of similar or the same tone it will enhance the spacious impression you are looking for.
Think of grout as the supporting actor, not the star of the show. When grout blends seamlessly with your tiles, the eye reads the surface as one continuous plane rather than a series of individual tiles. This cohesive look is essential when you’re figuring out how to make a small room look bigger.
For white or light-coloured tiles, opt for white or light grey grout. For grey tiles, choose a matching grey tone. The closer the colour match, the more expansive your space will appear. Even a difference of just a few shades can create visual lines that break up the space.
4. Consider tile direction to make the room look bigger
Here’s a design trick that often gets overlooked: the tile direction to make room look bigger can have a significant impact on how spacious your room feels. The way you lay your tiles can influence the perceived dimensions of your space.
For rectangular tiles, laying them lengthwise along the longest wall of the room will draw the eye along that direction, making the space feel longer and larger. In narrow bathrooms or hallways, this technique can be particularly effective. Conversely, laying tiles widthwise can make a narrow room feel broader.
For square tiles in small rooms, a straight lay pattern (tiles laid parallel to the walls) is typically the safest choice. Diagonal patterns can work in some spaces but require careful consideration – while they can add visual interest, they also create more cut tiles around the edges, which can sometimes make a small space feel busier.
5. Experiment with your tile pattern to make the room look bigger
While we’ve emphasised simplicity, certain tile patterns to make a room look bigger can actually enhance the sense of space when used thoughtfully. The key is to choose patterns that create movement and flow without overwhelming the room.
Patterns that work in small spaces are:
- Vertical stacking: Installing rectangular tiles in a vertical stack pattern (rather than the traditional brick pattern) creates strong vertical lines that draw the eye upward, making ceilings feel higher.
- Large-scale patterns: If you love patterned tiles, opt for larger-scale patterns rather than busy, intricate designs. A large marble-effect or stone-look tile with subtle veining creates interest without visual clutter.
- Monochromatic patterns: Patterns that use variations of the same colour maintain the cohesive look that makes spaces feel larger while adding subtle visual interest.
Patterns to avoid will be small and busy mosaic patterns or high-contrast checkerboard designs. These tend to make small spaces feel even more confined. Save these bold choices for larger rooms where they can truly shine.
Additional tips for maximising space with tiles
There are a few other clever ways you can take advantage of the space you have.
- Extend tiles to the ceiling: Particularly in bathrooms, taking your tiles all the way to the ceiling rather than stopping at a lower point makes the room feel taller and more spacious. This is a perfect example of using wall tiles to make a room look bigger effectively.
- Minimise decorative borders: While decorative borders can be attractive, they create horizontal lines that can make a room feel shorter and more segmented. In small spaces, it’s best to skip the borders and maintain a clean, uninterrupted surface.
- Maintain consistency with adjacent spaces: If your small room opens into a larger area, consider extending the same tile into both spaces. This creates visual continuity, making both areas feel more expansive.
Some suggestions to get you started
Still not sure where to begin? That’s alright! We’ve put together a quick list to help you get started.
- Puraforma Branco Graffi 450×1200: A soft white textured tile in an elongated format that draws the eye along the wall. Perfect for vertical stacking or directional layouts to enhance room height or length. Best for: Walls, especially in small bathrooms or hallways.
- White Glossy Rectified 300×600: High-gloss white wall tile that reflects natural and artificial light, helping small rooms feel brighter and more open. Ideal for vertical installation to create height. Best for: Bathroom and laundry walls.
- Tundra Light Grey Polished 600×1200: Large polished surface in a soft, modern grey. Its scale and subtle tone reduce visual noise and maximise space with fewer grout lines. Best for: Floors and walls in small living zones or bathrooms.
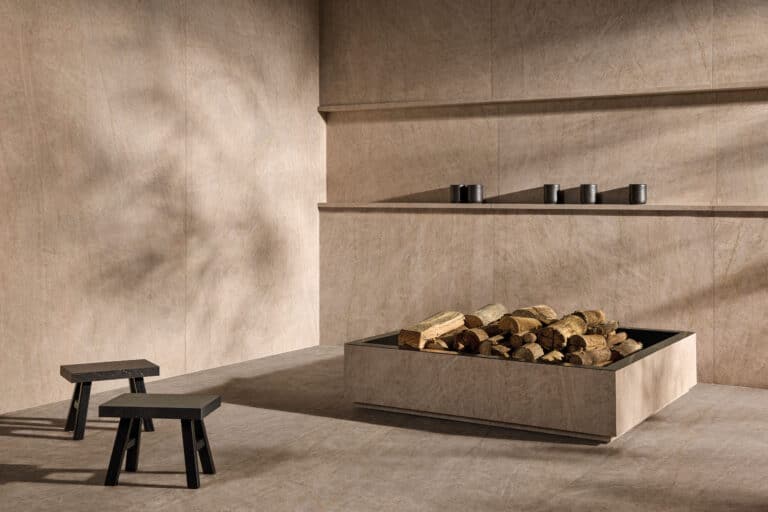
- Fossils Pearl Natural 600×1200: Neutral stone-look tile with understated veining. Large format with a natural finish adds warmth and dimension without breaking up the surface. Best for: Wall and floor continuity in bathrooms or open areas.
- Tundra Beige Polished 600×1200: Elegant beige tone with a polished finish to brighten rooms while keeping a soft, welcoming look. Large format reduces grout lines for a clean surface. Best for: Bathrooms, kitchens and entryways.
Ready to transform your small space?
That may have been a lot to take in!
From understanding how to make a small space look bigger through colour and size choices, to mastering tile direction and pattern selection, there’s plenty to consider. This is why we highly recommend visiting your nearest Elegance Tiles store when selecting your tiles.
From tile specialists to design enthusiasts, our staff are dedicated to finding your perfect tile for your dream space. They can help you navigate all the considerations we’ve discussed – from selecting the right size and colour to determining the best laying pattern for your specific room.
For more inspiration for your future projects, be sure to follow Elegance Tiles Facebook and Instagram pages, where we showcase finished projects, current trends and tile flat lays.